“Rake making still survives in certain country districts, for its basic material is cheap and plentiful, and the yearly demand from farmers is unfailing, though much diminished owing to the use of machinery.”
The quotation, from H.L.Edlin’s 1949 Woodland Crafts of Britain, did not age well. By the mid-1960s demand for wooden hay rakes had fallen to such an extent there were few makers left, their skills superseded by machinery and mass production, as Edlin had hinted.
The Heritage Crafts Association estimates there are now no more than about two dozen professional and semi-professional makers left in the UK and lists rake making as an endangered craft. So, time to learn how to make a hay rake…
There are two basic designs, with many localised variations. The bow rake is characteristic of the north and west, where grass is short and springy. The less hardy swallow-tail rake is more common in the south and east, where grass is longer and lusher. I went for the swallow-tail, guided by my Devon Rural Skills Trust colleague Mick Godfrey.
The Head
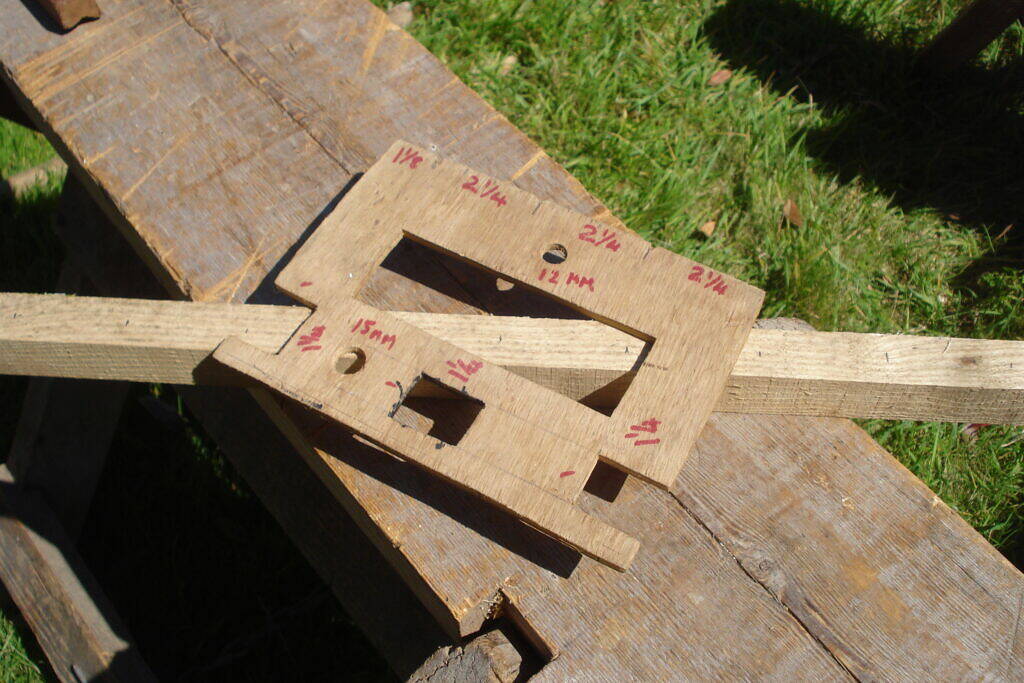
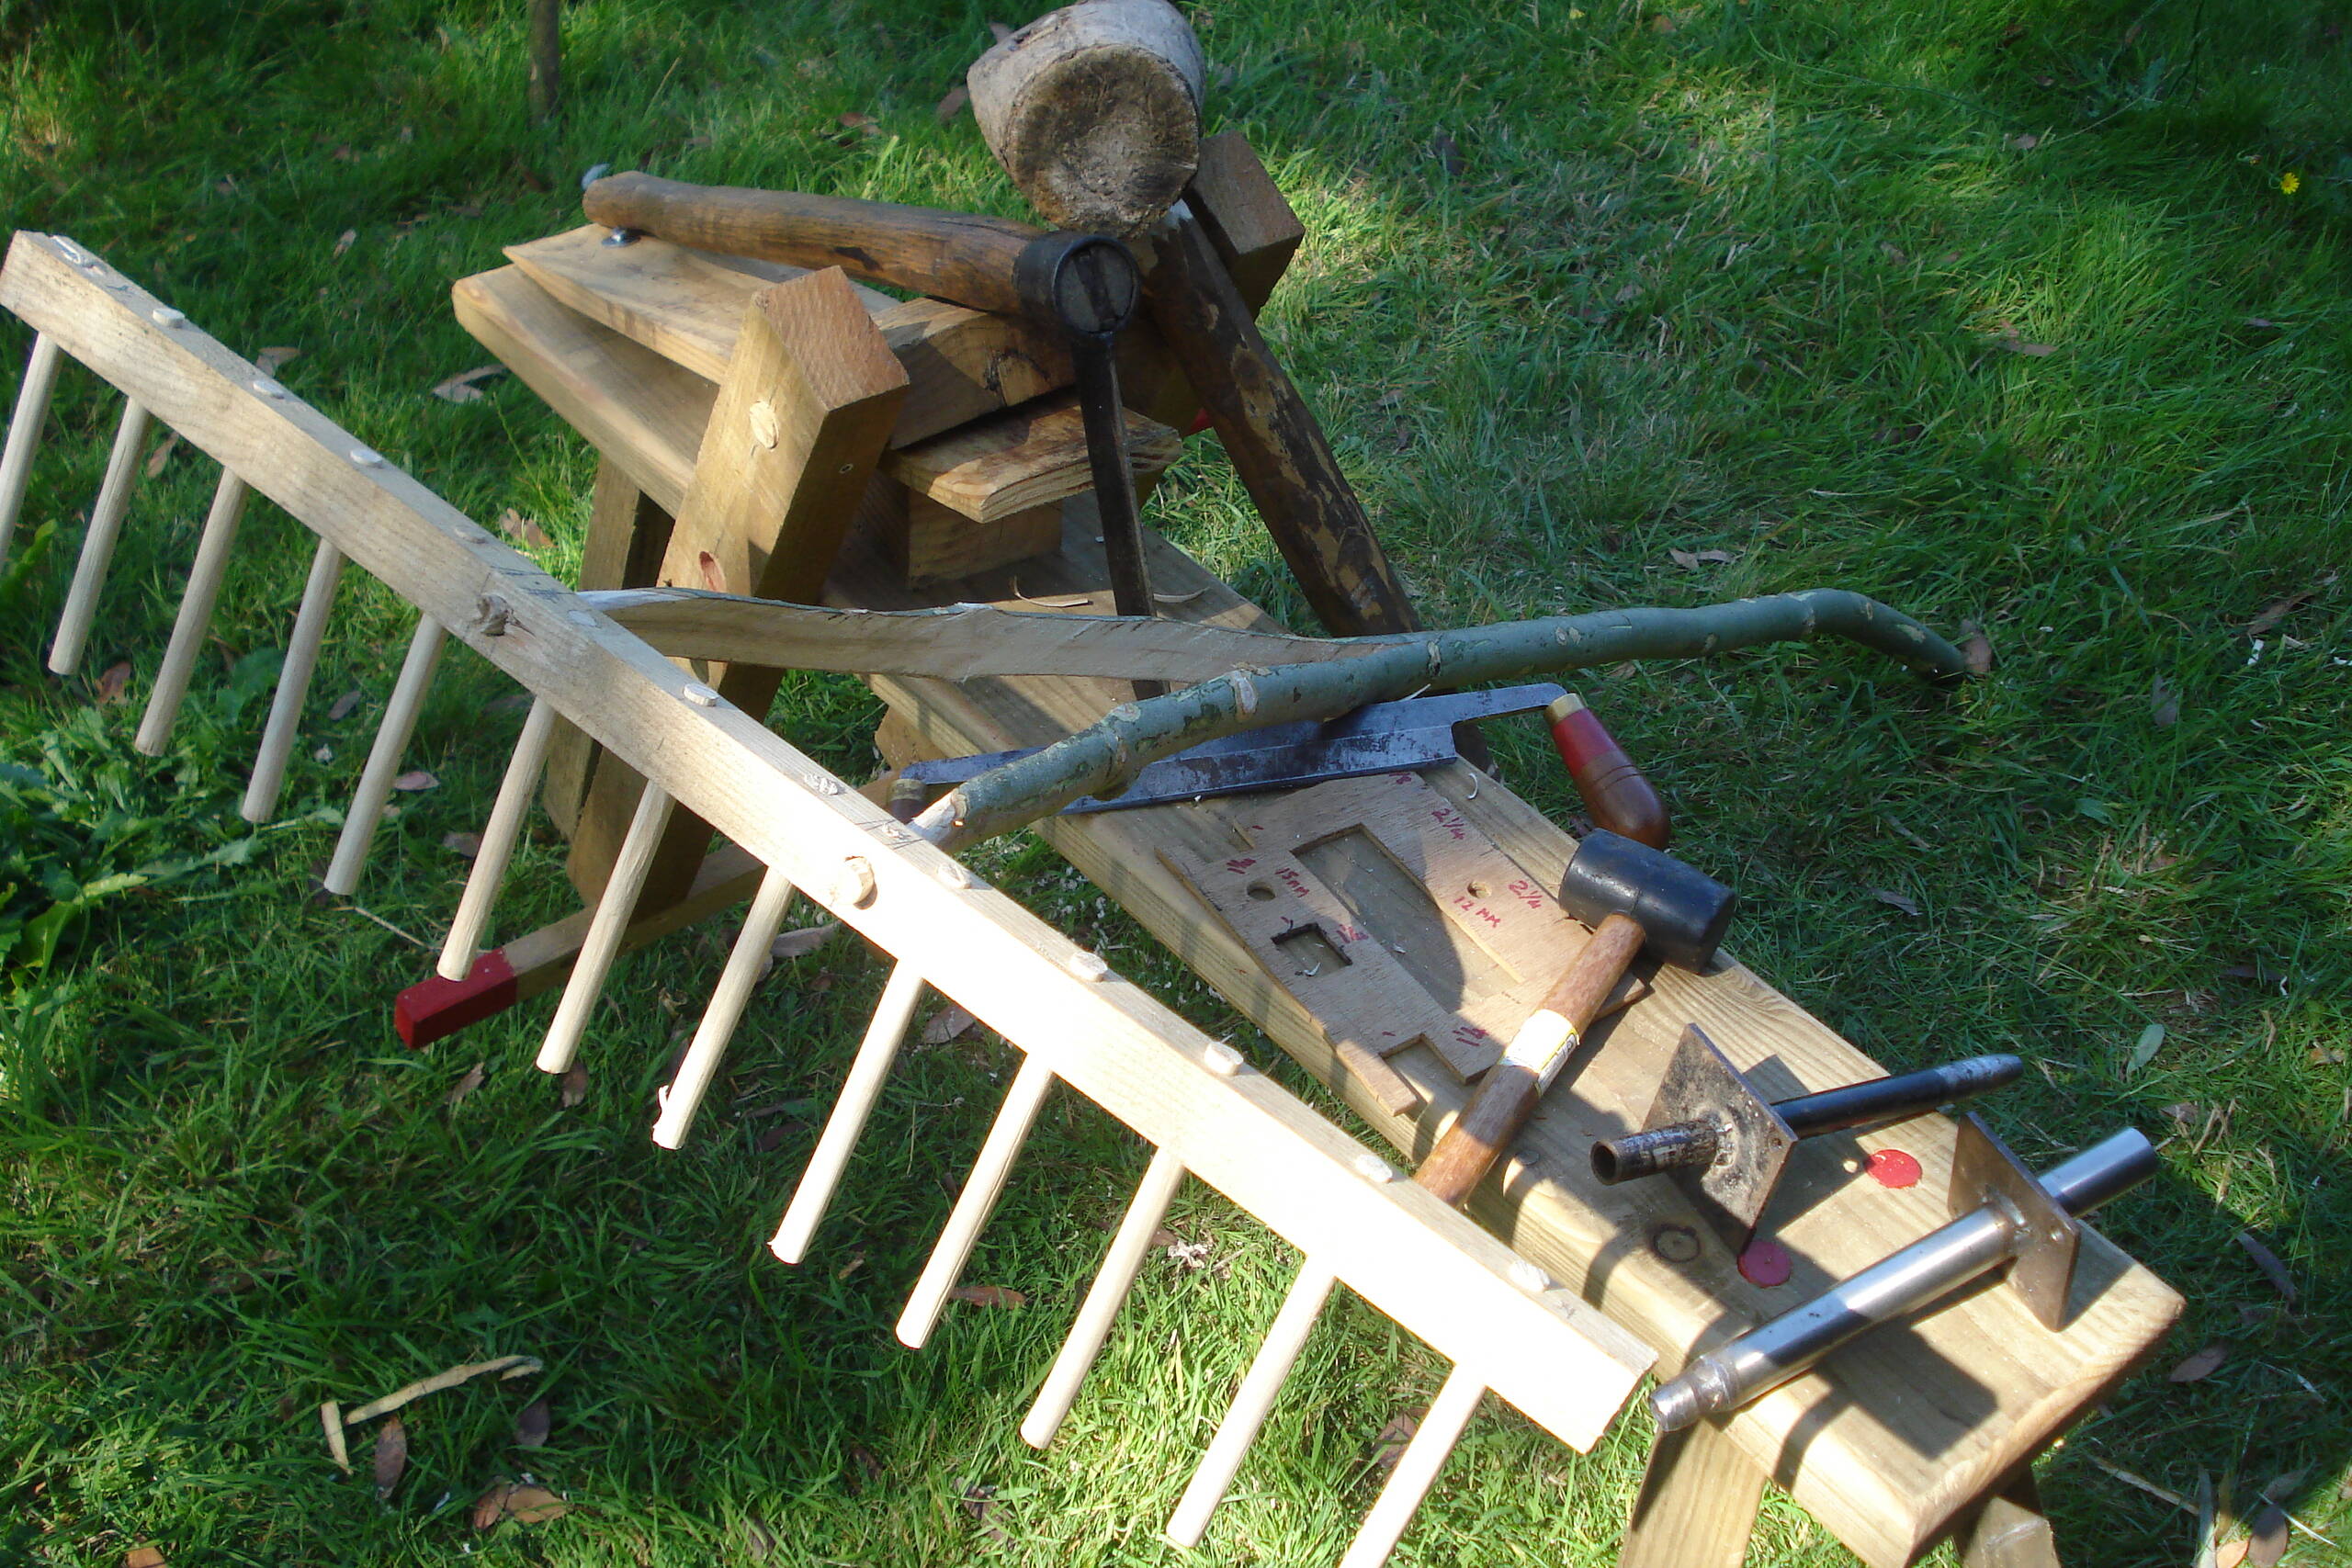
This is usually made from freshly cropped ash, cleaved in the field and then worked to the right size – 30 inches long by 1¼ inches deep and 1 inch wide – using a shave horse and draw knife. Part of the skill throughout is choosing the right wood, making sure the orientation of the grain is going to give you the strongest possible tool. I used a seasoned piece of ash that had been prepared earlier; this, I’m afraid, is not going to be the authentic out-in-the-coppice experience, rather a suburban back garden one. Then you drill the customary 13 holes for the tines. I was helped by Mick’s funky plywood template, which has all the measurements you are going to need for rake making carefully marked on it, or cut or drilled into it. Each hole should be 2¼ inches apart and, for the tines to fit snugly, 12mm in diameter. The mishmash of metric and imperial measurements is easily explained: the customary sizes of hay rakes evolved during an earlier era, modern drill bits and tine cutters are in millimetres – no good if the tines don’t fit.
The Handle
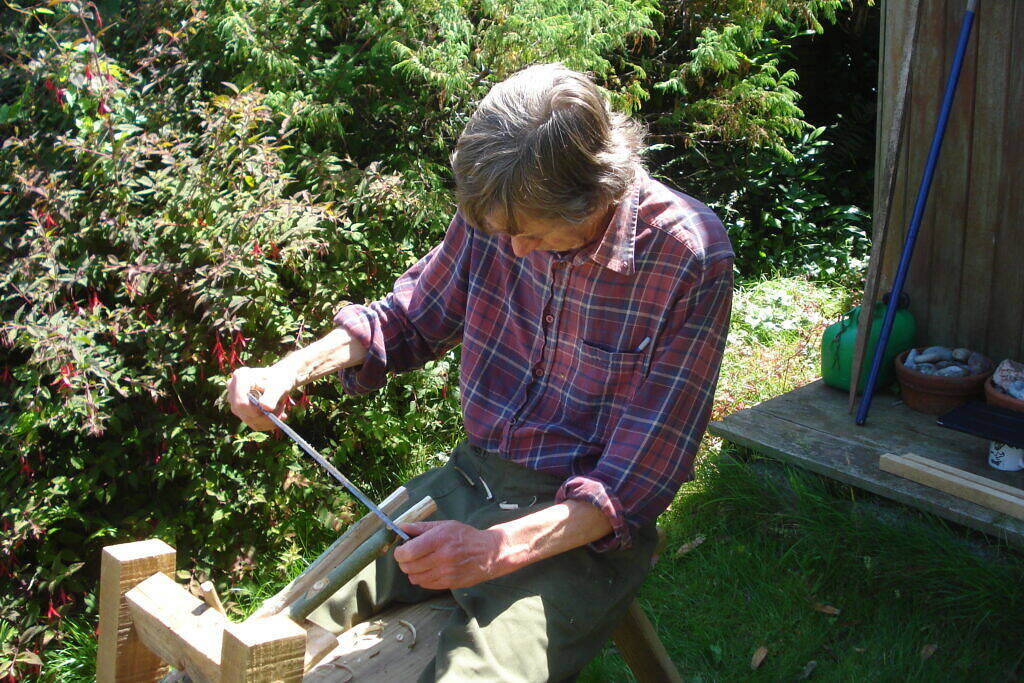
Ash is usually used for this too and I had a sturdy, freshly cropped pole about 1¼ inches in diameter for most of its length. Green wood is easier to work than seasoned wood and it took no time to tidy the handle, cut to 6 feet long, and then carefully saw along the centre at the end that will be fixed into the head. I ended up with a 22-inch cut, long enough to tease the two halves apart to the correct width, roughly 5 inches – rake makers would customarily fix a tin band around the handle at the end of the cut to stop it splitting any further.
Then it’s a matter of thinning the two ends to the right diameter and, finally, the tricky bit – drilling two 15mm holes into the head at the right angle to accommodate the two halves of the swallow-tail handle. With the handle and the head now joined you can hold the part-finished rake in your hands, test how it feels, and which should be the underside and which the top. I quickly got the sense that this was going to be a tool that would be a pleasure to use.
The Tines (the fun bit)
First take a piece of ash and mark out the square clefts, which you cut using a froe. Then mallet each square cleft through the tine cutter, which gives you a plentiful supply of rounded tines, each 12mm diameter and 5 to 6 inches long.
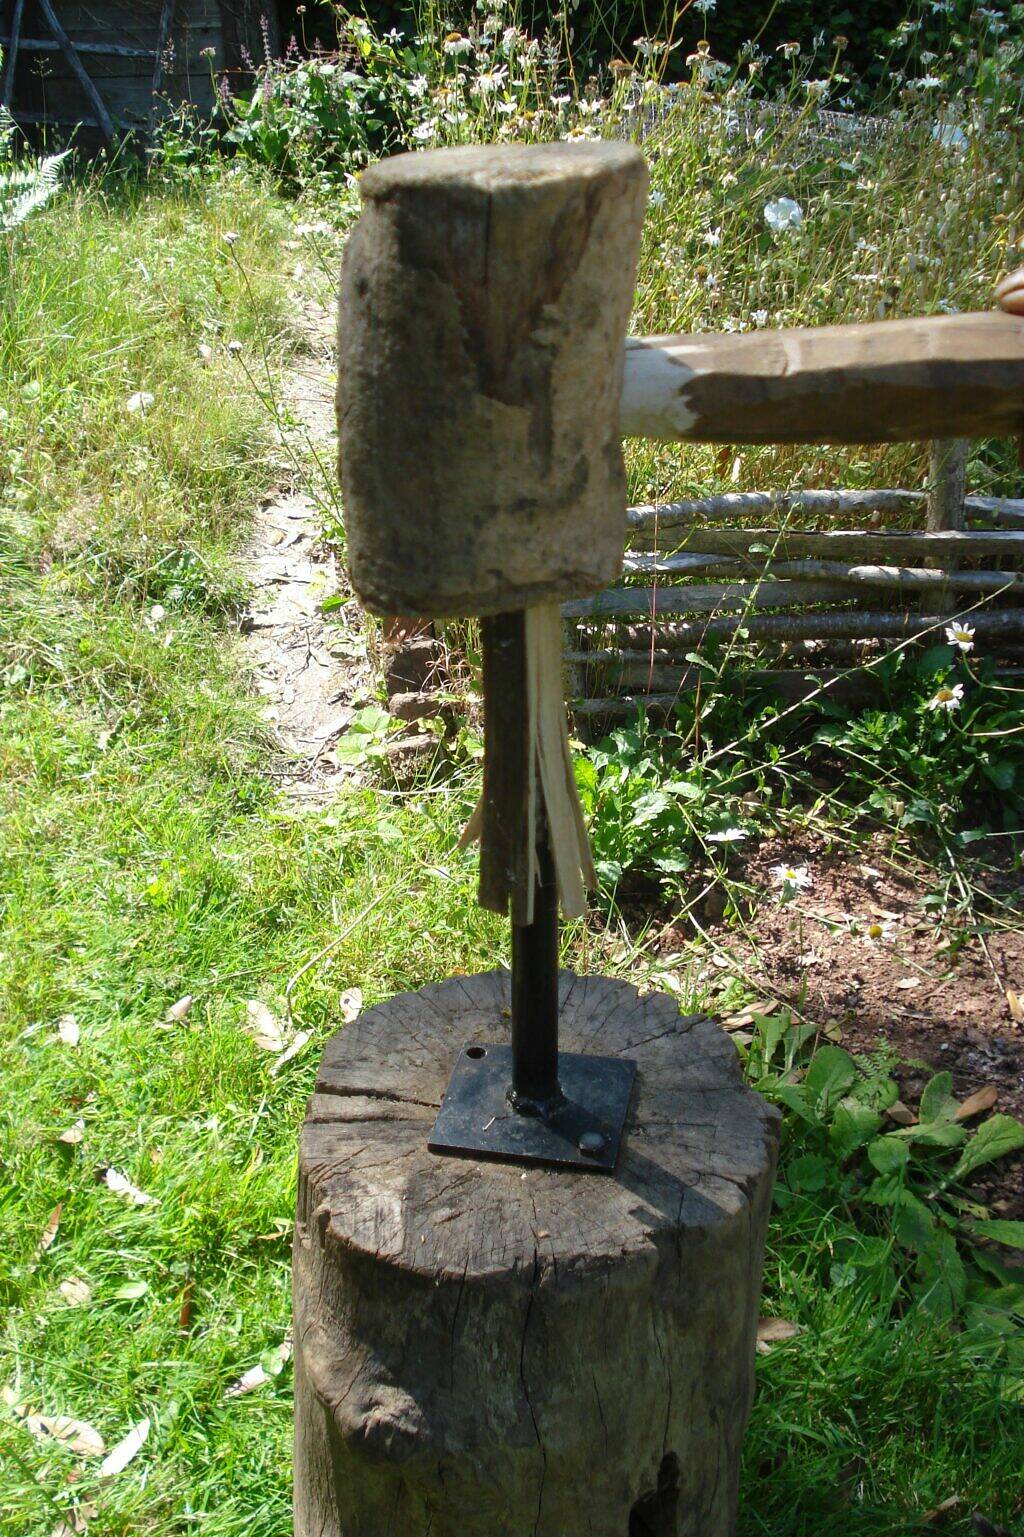
Mick’s tine cutter was mounted on a block and the finished tines would drop into a cavity and then fall out of the block’s side, like a green woodworker’s slot machine. This needs to be done well in advance to give the tines time to season. In an ideal world the freshly cropped head will shrink around the pre-seasoned tines, fixing them in place and giving you a tool that should survive several summer’s hay making. Because I used a less than fresh piece of ash for the head I shall probably compensate by adding a dab of wood glue to each of the 13 tines I hammered into the bottom of the head, to be doubly sure they will not fall out. If you wish you can also give each of the tines a point, easily done with two cuts of a draw knife.
My rake was now finished. Fortunately the endangered craft of rake making is on something of a roll at the moment, thanks to renewed interest in green woodworking and the surging popularity of scything. Long may they continue to be made. Now all I need to do is go and make some hay.